How to plant seed paper
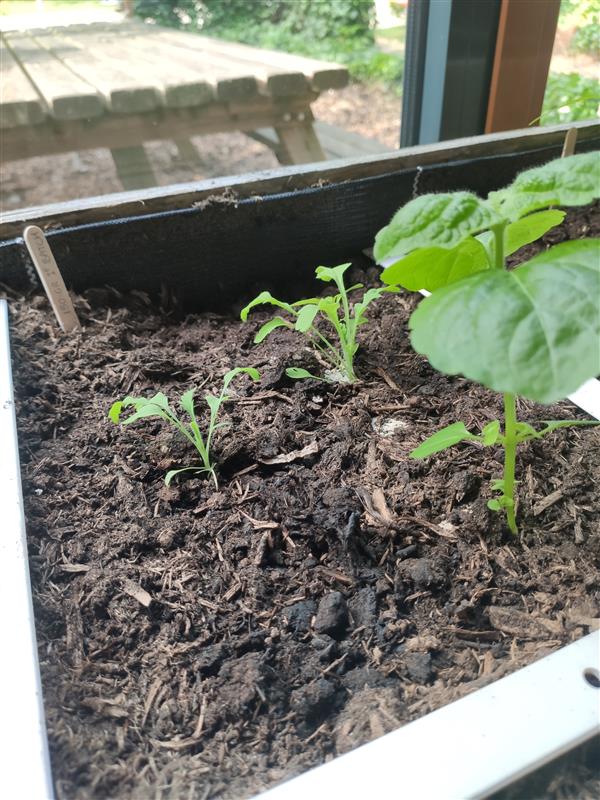
Did you receive a seed paper card? If so, now it’s really getting fun! With this step-by-step plan, a green thumb, and a little help from nature, you’ll get your seed paper to bloom. Let’s grow!
Our flower seeds and bees: native and non-native
We use different types of flowers for our 250 grams growing paper. We believe it is important to be open about the origin of the seeds.
Non-native species
Many of the flower varieties we use originate from other parts of the world. Examples include snapdragon, godetia, baby’s breath, ice flower, Virginia stock, sweet alyssum, and China pink. These varieties are not native to Europe, but have long been popular as ornamental plants. They do not pose an invasive threat and provide food for bees and other pollinators.
Native species
We also work with flower species that occur naturally in Europe, such as the poppy (Papaver rhoeas) and the forget-me-not (Myosotis). These species fit in well with European biodiversity and have traditionally been important for the bee population.
Our choice
We consciously choose a mix of seeds that are good for pollinators in general. We make sure that the species are safe, do not pose an invasive risk, and actually provide food for bees. Where possible, we are working towards using more organic and native seeds. In this way, we are contributing step by step to a healthier and greener living environment for people and nature.
Our flower seeds: food and protection for bees
We consciously choose non-invasive flower seeds that provide valuable food for bees. We do not focus on specific native bee species, as they require a wide variety of plants. Instead, we look for seeds that are generally good for bees and other pollinators. Honey bees are also taken into account, as they pose a threat to native species in Europe due to competition for food.
To make these choices carefully, we consult databases that indicate whether each seed type is suitable for bees. In this way, we ensure that our paper contributes to food for pollinators in general. This may mean that we support different types of bees in our mixes.
A major threat to bees in Europe is the use of toxins, especially in agriculture. That is why we have been investing time and resources in developing organic seed mixes for years. This has proven to be a challenge: only a small proportion of all flower seeds are suitable for use in our growing paper, and organic seeds are less readily available than non-organic ones.
Nevertheless, we are taking steps. We now offer an organic seed with our 250 grams paper at no extra cost. It is important to note that even the non-organic seeds in our mixes pose no direct threat to bees. The broader problem lies in the large-scale use of agricultural pesticides in Europe. We want to be part of the movement that contributes to a pesticide-free, organic future.
For us, sustainability goes beyond nature alone. The social aspect is also part of it. Together, we bear responsibility for making the world greener and healthier, step by step.
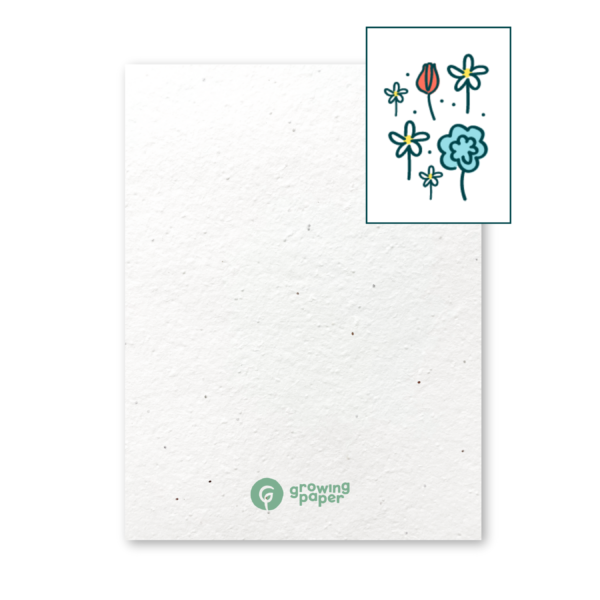
Growing paper, also called seed paper, flower seed paper, bee seed paper or plantable paper, is a type of paper in which seeds have been incorporated between the paper fibres. This type of paper is usually made from recycled paper and the seeds used range from flower seeds to vegetable or fruit seeds.
The idea behind seed paper is that after being used for its original purpose, it can be planted in the ground where the seeds in the paper can germinate and grow into plants. This makes growing paper a sustainable and environmentally friendly option as it can be used for its intended purpose and then reused to grow plants.
Growing paper can be used for a variety of purposes, including greeting cards, wedding invitations, packaging materials and promotional items. It is also a popular option for companies and organisations looking for sustainable and unique ways to promote their brand.
For all information regarding shipping, see our shipping and delivery policy page.
Growing paper production generally has a positive impact on the environment, as it helps reduce the consumption of virgin fiber and the amount of waste. Growing paper is not perfect, but it is better – Growing paper is made from 100% recycled waste paper or recycled cotton, depending on the production. We leave the production of the paper to the professionals. We don’t just buy growing paper, but carefully consider which producers match us and our values. Planting the growing paper helps promote biodiversity and create habitats for animals. You can find a detailed list of what we do and plan to do on sustainability here.
How annoying!!! Did you follow all the steps in the step-by-step plan? Making growing paper bloom requires a little green thumb AND a little luck. Was your pot in full sun? Was there a heat wave or a thunderstorm? Then, unfortunately, your seeds may dry out or drown.


